Mixed Berry Shortcakes with Whipped Cream

One of the BEST things about Spring time, in my humble opinion, is the availability of fresh fruit and vegetables 🙂  More specifically, strawberries!  Strawberries come in season during the month of May…  but who’s counting, right?  Who cares that it’s April?  Besides, our local grocery store had strawberries AND blackberries on sale.  Soooo…. without further adieu, I bring you my families FAVORITE shortcake.  Trust me, you’ll love it as much as we do!

Mixed Berry Shortcakes

Ingredients:

1 1/2 cups all purpose flour

1/4 cup sugar

1 tsp baking powder

1/4 tsp baking soda

1/4 tsp salt

1/4 tsp cinnamon

1/3 cup cold butter

1 egg, slightly beaten

1/2 cup sour cream

2 TBSP cream (you can use milk)

5 cups mixed berries (strawberries, blackberries, blueberries or whatever kind of berries)

3 TBSP sugar

whipped cream (recipe to follow)

Directions:

Preheat oven to 400F.  Lightly grease a baking sheet (or use parchment paper).  Set aside.  In a medium bowl, combine flour, the 1/4 cup sugar, baking powder, baking soda, cinnamon and salt.  Using a  pastry blender, cut in butter until mixture resembles coarse crumbs.  In a small bowl, combine egg, sour cream and milk or cream.  Add wet ingredients to flour mixture, stirring with a fork just until moistened.

Drop dough into 8 mounds onto prepared baking sheet.  Bake for 12 to 15 minutes or until golden.  Transfer to a wire rack.  Let cool.

Berries

Mix 5 cups of berries of your choice with 3 TBSP sugar.  Do not mash fruit but let sit for 15 minutes so that juices can develop and “marry” together.

When ready to serve, split shortcakes in half and and scoop berries and juice on top of one of the halves and cover with the other half.  Serve with whipped cream.

Whipped Cream

In a chilled mixing bowl, add 1 cup heavy whipping cream, 2 TBSP sugar and 1 tsp vanilla.  Beat with electric mixer until soft peaks form.  If you like, you can also like 1/4 tsp cinnamon.

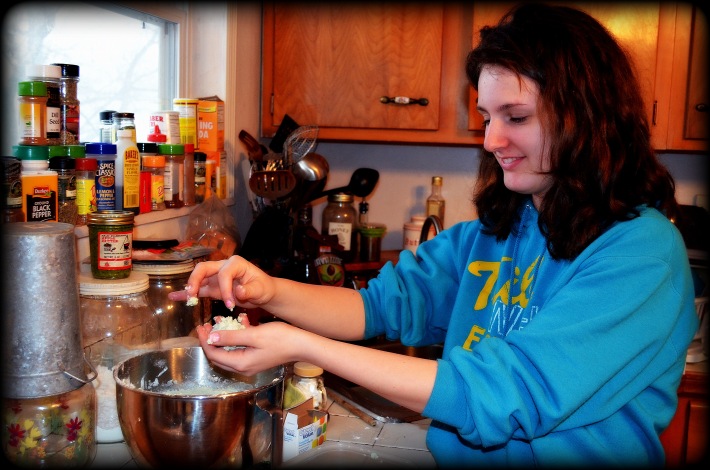
What the girls are doing on this snow day? Making “cotton candy cookies”.

Image

Teenage Munchkin and her BFF are snowed in with us today.  It’s been fun listening to them laugh.  You know teenagers don’t like to be bored and these two definitely aren’t bored.  They  came to me earlier, asking if they can make “cotton candy” cookies!  I’d never heard of this type of cookie but they found a recipe on the net and who was I to say no? EXCEPT that the recipe called for 4.5 cups of flour and all we had was 2 😦  We had  “self rising” flour, so the girls looked up how to substitute self rising for the regular all purpose.

This recipe calls for 4.5 all purpose and if all you have is self rising, you need 2.5 cups.  Hope that made sense.  I’m just going to give you the recipe they found on the net, the way it’s written (without our substitutions).  They were FANTASTIC!  They really just tasted like more of a really good sugar cookie 🙂

Image

Image

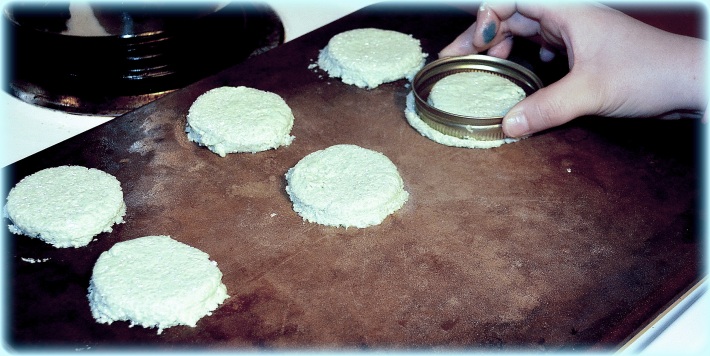
Teenage munchkin and her cotton candy cookies.

Image

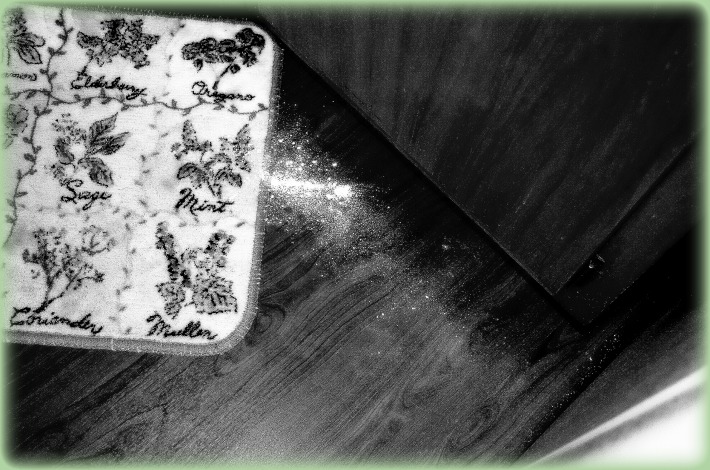
The mess of flour teenage muchkin left on my floor… but hey!  it’s a snow day, right?  lol

Cotton Candy Cookies

1 cup granulated sugar

1 cup powdered sugar

1 cup (2 sticks) butter

1 cup vegetable oil

2 eggs

1 tsp vanilla

1 tsp salt

1 tsp cream of tartar

1 tsp baking soda

4 1/2 all purpose flour

few drops of food color

enough baking sugar to roll unbaked cookies in (they look like crystals) OR you can use regular granulated sugar.

Directions

Preheat oven to 375 F

Cream together sugars, butter and cooking oil.  Beat in eggs and vanilla.  Add dry ingredients (the next 4 ingredients), mix to incorporate.  At this point add the food coloring until the desired color.  Roll dough into small balls about the size of a quarter.  Roll ball into baking sugar.  Using a heavy bottom crystal vase or a cookie press dipped into bakers sugar (or regular sugar), smash ball out flat, leaving an imprint from cookie press (stamp) or bottom of vase.  Bake for 10 minutes or until edges are slightly browned.  Cool slightly before transferring to baking rack.

*I realize this recipe isn’t written the way I’d like it to be, where it’s easy to follow.  However, my girls followed it just fine and the cookies turned out perfect!

**we used enough blue food coloring for these cookies to look like a light blue cotton candy.  Especially after rolled in bakers sugar.

New York Style Vanilla Bean Cheesecake… is what’s for dessert!

I’ve been wanting to revisit this recipe for a while now and I think today is the day!  I’m a little strange, I think, because I don’t really like cheesecake the way I should.  TYPICAL cheesecake, that is.  I want my cheesecake to have LOADS of flavor and to be fluffy and light. The New York Cheesecake is the ONLY way to go, in my humble opinion.  This is my single most FAVORITE recipe.  Tried and true.  PLEASE read the notes.  It’s really not a hard recipe but the desired result won’t be the same if you don’t follow the directions.

New York Style Vanilla Bean Cheesecake

Ingredients

5 large eggs, room temperature
2 cups (one pint) sour cream, room temperature
4 8-ounce packages cream cheese, room temperature
8 tablespoons (one stick) unsalted butter, room temperature
1 1/2 cups sugar
2 tablespoons cornstarch
2 vanilla bean pods (*split them open with a sharp knife and scrape the inside where the beans are, set aside)
1  teaspoons vanilla extract
1 teaspoon fresh lemon juice (*Fresh is best)
1 teaspoon grated lemon zest
Directions
Generously butter the inside of a 10-inch spring form pan.  Wrap a double layer of heavy-duty aluminum foil tightly around the outside bottom and sides, crimping and pleating the foil to make it conform to the pan.  This will help to prevent water seeping into the pan when you put it into the bain-marie (hot water bath).  Position the baking rack in the center of the oven; preheat the oven to 300* Fahrenheit.
In a large mixing bowl, using an electric mixer, beat the eggs with the sour cream until well blended.
In a medium-sized bowl, beat the cream cheese with the butter until smooth and creamy.  Add this to the egg-sour cream mixture and beat until smooth. 
Add the sugar, cornstarch, vanilla, the scraping of vanilla bean pods, lemon juice and lemon zest and beat thoroughly, about 2 minutes. 
Pour into the prepared spring form pan and place in a roasting pan (or other pan) large enough to prevent the sides from touching.  Place in the oven and carefully pour in enough very hot tap water to reach halfway up the sides of the spring form pan.
Bake for 2 hours, 15 minutes, or until the cake is very lightly colored and a knife inserted in the center emerges clean.  Remove from the water bath and carefully peel the aluminum foil from around the pan.  Let stand at room temperature until completely cool, about 4 hours.  Refrigerate, covered, until well chilled.  For best flavor and texture, this cheesecake is best chilled overnight.
**My Notes:  I can’t stress enough how important it is to let those first 4 ingredients in this recipe come to room temperature.  I’ve hurried the cream cheese and have had unsightly lumps of it in my batter.
**I’ve italicized the mixing instructions to emphasize blending the ingredients to achieve the desired texture.
** Don’t burn yourself when taking the cheesecake out of the hot water bath.  I’ve done this before and it’s not fun!  Be sure to have a platter ready to remove the cheese cake from the hot water.
** Enjoy the yumminess!

What’s for dessert? Orange Creamsicle Cake!

Sick of me yet?  You won’t be after you try this!  I had to bring you dessert, right? So for dinner, there’s Guinness Beef Stew and Red Lobster Cheddar Bay Biscuits.  We needed something sweet to top everything off!  Julia and I went to work baking a cake… Not just ANY cake though, more of a dessert, really.  I don’t mind saying that we are truly amazing!  This cake tastes JUST like an orange creamsicle!  It’s kind of a summery thing to do, really, but we need a little summer during this cold winter, don’t we? This is tested and delicious and I SO want to share a piece with you 😉

Orange Creamsicle Cake

Ingredients

1 box Duncan Hines  yellow butter recipe cake mix

3 large eggs

1/2 cup melted butter (not margarine)

1 cup water (for cake)

2 small pkgs Jello brand orange gelatin

1 pkg Jello brand instant vanilla pudding mix

1 cup milk

2 tsp vanilla

1 tub COOL WHIP non dairy whipped topping

INSTRUCTIONS

Combine Duncan Hines cake mix with 3 beaten eggs, 1 cup of water and cooled melted butter.  With electric mixer, mix on low speed for 1 minute and then high speed for 1 minute.  Pour batter into greased 9×13 baking pan.  Bake at 350 for around 21 minutes (or until inserted knife comes out clean).  Let cake cool completely and then poke holes all over cooled cake (I use the round side of a wooden spoon handle).  Mix 1 pkg orange jello with 1 cup boiling water and 1 cup cold water.  Pour over cooled cake.  Refrigerate for around four hours.  Mix pudding mix with cold milk, another package of orange jello, 2 tsp vanilla.  Whisk by hand until thickened.  Fold in Cool Whip.  Frost the cooled cake with pudding mixture.  Garnish with a sprig of mint and orange slices, if you want 🙂